A well-organised fridge means less food waste, easier meal prep, and no more mystery containers at the back. Here's how to set up your new fridge from day one.
Here's a number that will make you wince: the average Australian household wastes $2,500 to $3,800 worth of food per year. Much of that waste happens because food gets lost in the back of a messy fridge, forgotten until it's well past its best. Leftovers go unnoticed. Vegetables wilt in the crisper because they were buried under a bag of carrots from three weeks ago. Milk expires because you bought a second bottle, not realising you already had one.
An organised fridge doesn't just look satisfying — it genuinely saves you money. When you can see everything at a glance, you eat what you have before buying more, you use leftovers before they go bad, and you stop buying duplicates. Here's how to set up your new fridge properly from day one.
The Zone System — Where Everything Goes
Your fridge has different temperature zones, and placing food in the right zone keeps it fresher longer. Most people just shove things wherever there's space. Here's the system that food safety experts recommend:
Top Shelf — Ready-to-Eat Foods
The top shelf has the most consistent temperature and is furthest from the cold air source (usually the back wall). Use it for foods that don't need much cooking or are already cooked: leftovers, deli meats, cheese, yoghurt, hummus, dips, drinks, and anything you want to eat soon.
Pro tip: Keep an "eat first" bin or section on the top shelf. Anything with a close use-by date or leftovers that need eating go here. Check it before meal planning or shopping — this one habit alone dramatically reduces food waste.
Middle Shelf — Dairy, Eggs, and Cooked Foods
The middle shelf is ideal for dairy products (milk, cheese, cream), eggs, and pre-cooked foods that need reheating. It's a consistent, moderate temperature — not too cold, not too warm.
Bottom Shelf — Raw Meat and Fish (Coldest Zone)
The bottom shelf is the coldest part of most fridges. Store raw meat, poultry, and fish here to keep them at their safest temperature. The bottom position also means that if anything leaks, it won't drip onto other food — a food safety essential.
Important: Always store raw meat in sealed containers or on a plate to prevent cross-contamination with other foods.
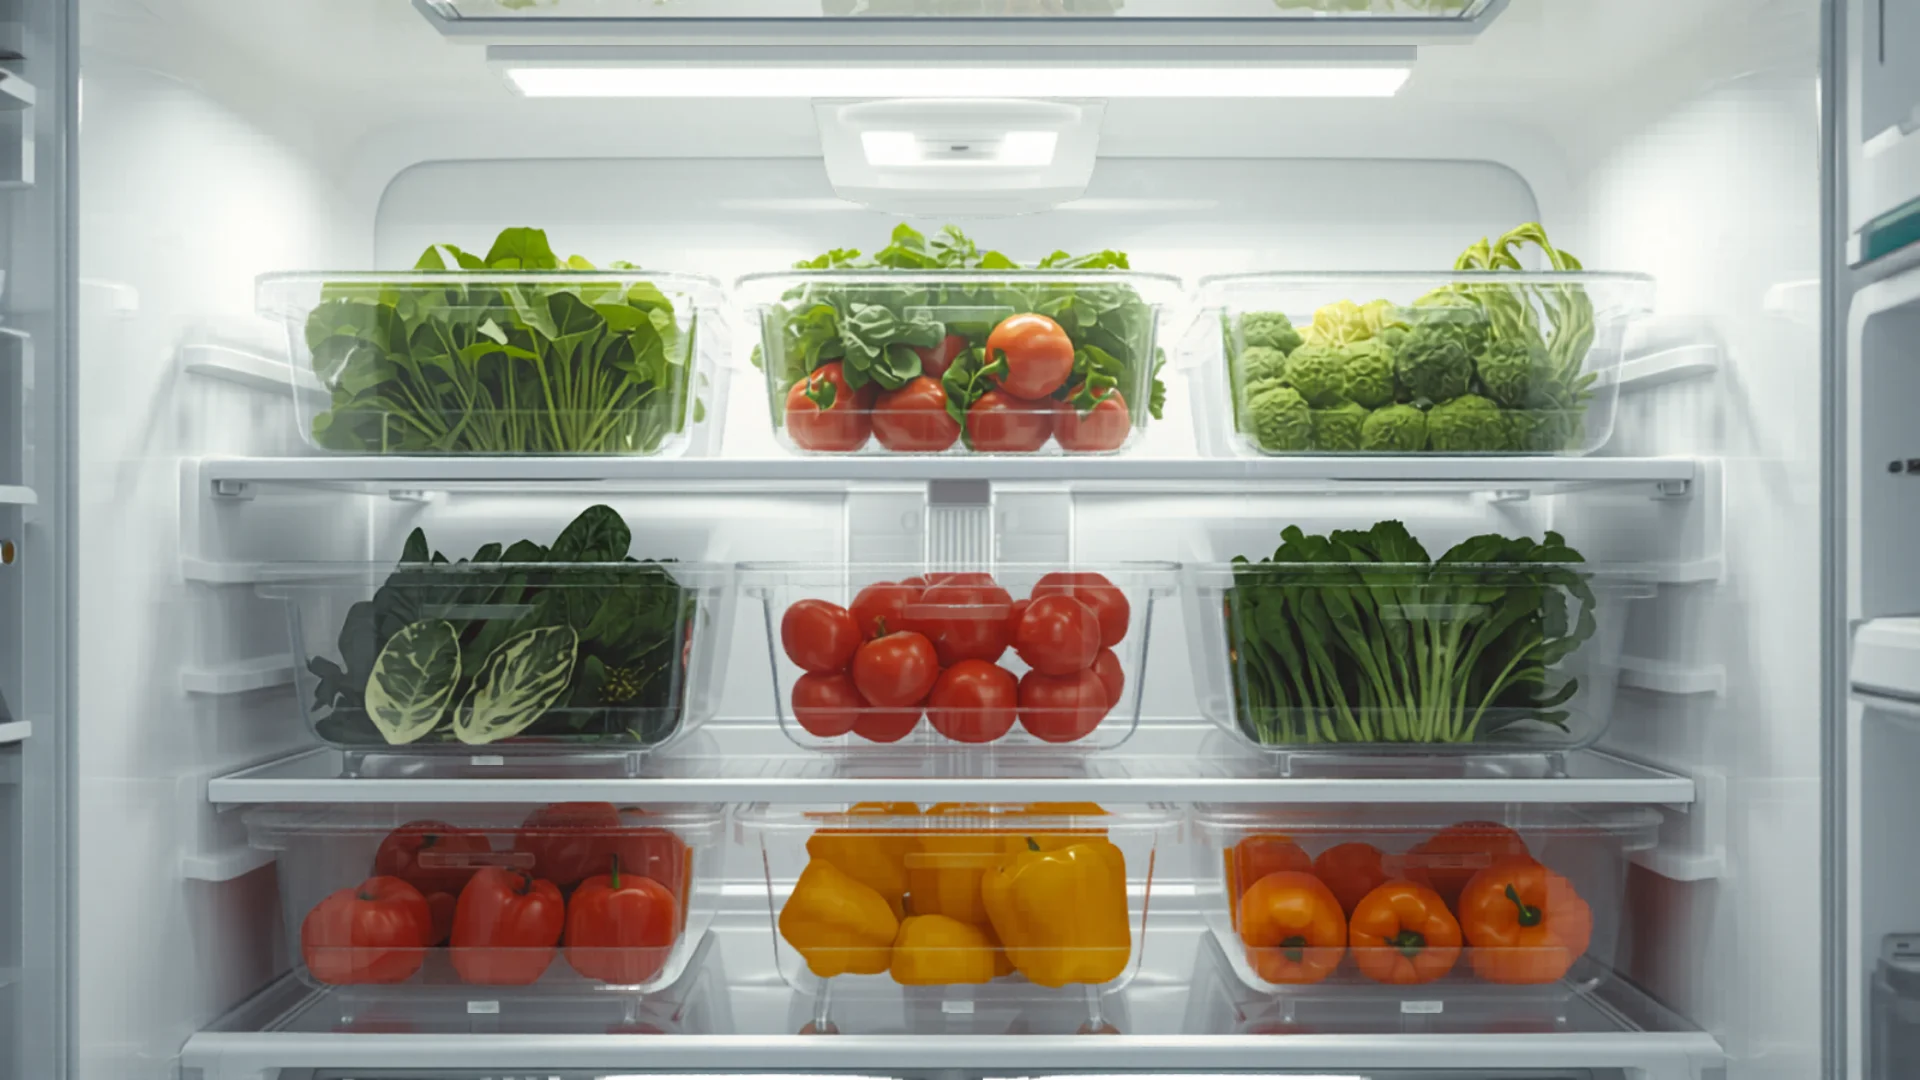
Crisper Drawers — Fruit and Vegetables (Separate)
Most fridges have two crisper drawers. Use one for fruit and one for vegetables — and keep them separate. This isn't just for organisation. Many fruits (apples, bananas, avocados) produce ethylene gas, which accelerates ripening and causes nearby vegetables to spoil faster. Keeping them in separate drawers extends the life of your produce noticeably.
If your crisper drawers have humidity controls (many do), set the fruit drawer to low humidity and the vegetable drawer to high humidity. Vegetables stay crisp longer in high humidity; fruits prefer drier conditions.
Door Shelves — Condiments, Drinks, and Sauces
The door is the warmest part of the fridge because it's exposed to room temperature every time you open it. Store items that can handle temperature fluctuation: condiments (mustard, soy sauce, hot sauce), sauces, juice, water bottles, and butter. Don't store milk or eggs in the door — despite the egg-shaped holders many fridges have on the door, eggs last longer on a middle shelf where the temperature is more stable.
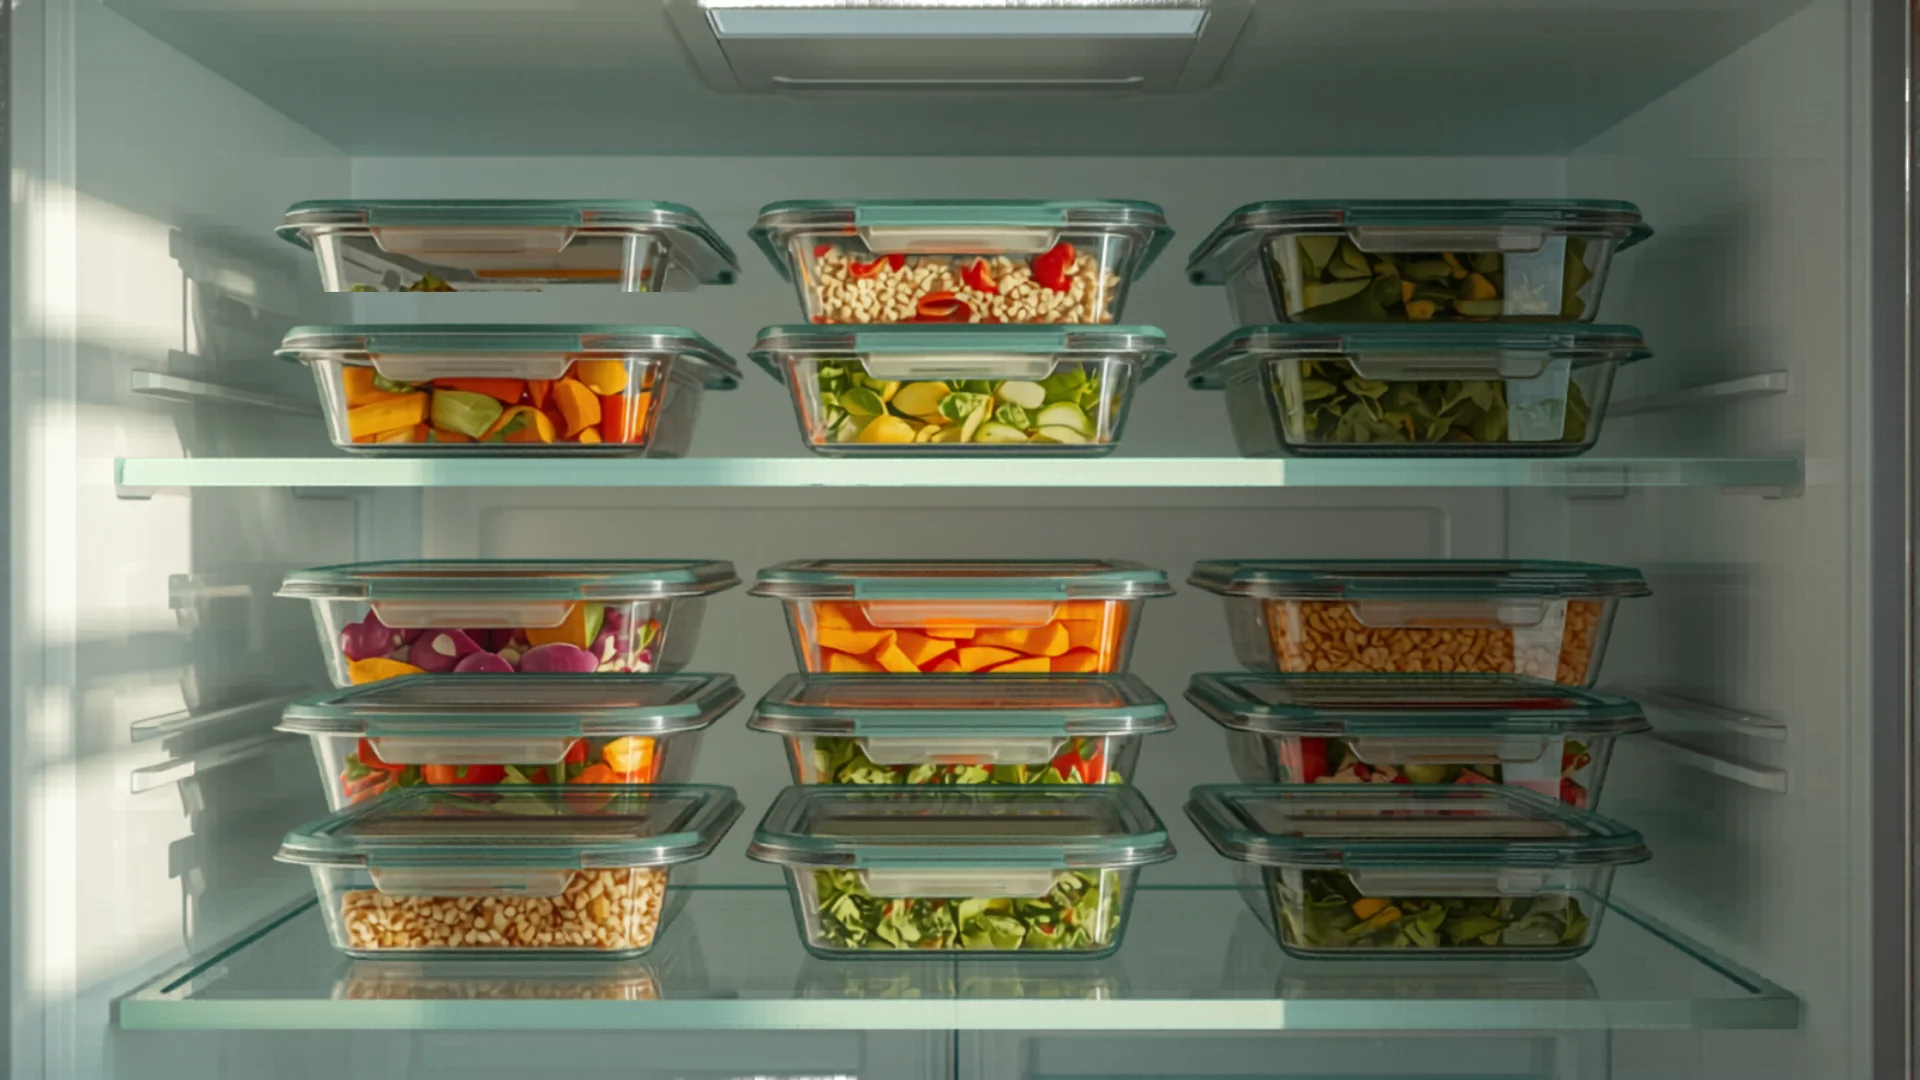
Best Fridge Organisation Products
Clear Stackable Bins — $8-$15 each
Clear bins are the single best investment for fridge organisation. They group items together (all the cheeses in one bin, all the snacks in another), make it easy to see what you have without digging, and pull out like a drawer for easy access. Get bins that fit your shelf dimensions — measure before buying.
Browse fridge organiser bins on Amazon AU →
Lazy Susan for Condiments — $12-$20
A lazy Susan (rotating turntable) on a shelf or in the door eliminates the "lost condiment" problem. Spin it to see everything, grab what you need, done. We use one for sauces and dressings — it's one of the best small purchases we've made.
Browse fridge lazy susans →
Egg Holder — $8-$12
A dedicated egg holder keeps eggs secure (no rolling around on the shelf), visible (you always know how many you have), and away from the door (where temperature fluctuations reduce their shelf life). Some holders are stackable, saving vertical space.
Browse egg holders →
Can Dispenser — $10-$15
If you keep canned drinks in the fridge (sparkling water, soft drinks, beer), a can dispenser rack holds them neatly and dispenses one at a time. It reclaims the shelf space that scattered cans waste. Browse can dispensers →
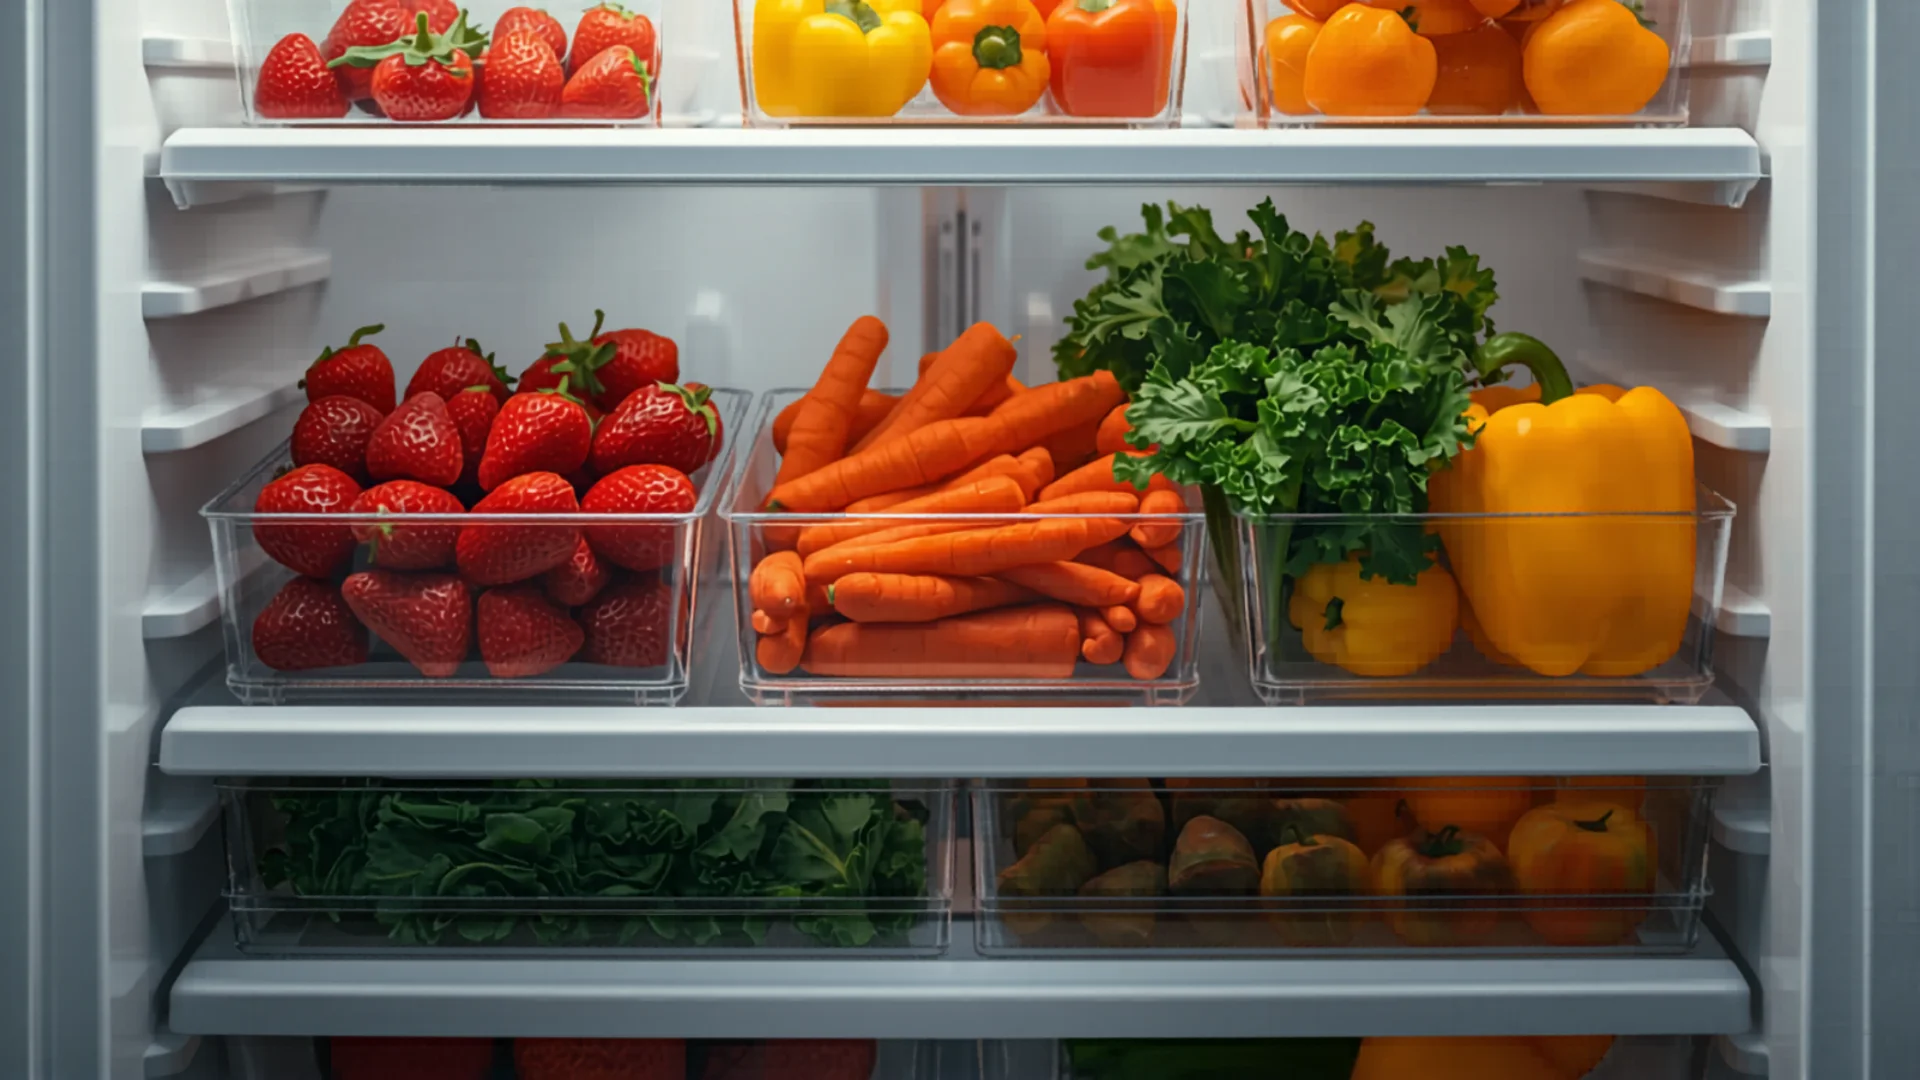
Produce Savers — $10-$20
Produce saver containers have a vented design that controls airflow and humidity around fresh produce, keeping it fresher for days longer than a plastic bag. They're particularly good for berries, leafy greens, and herbs — the items that spoil fastest. OXO GreenSaver and Swisse containers are popular in Australia.
Browse produce savers →
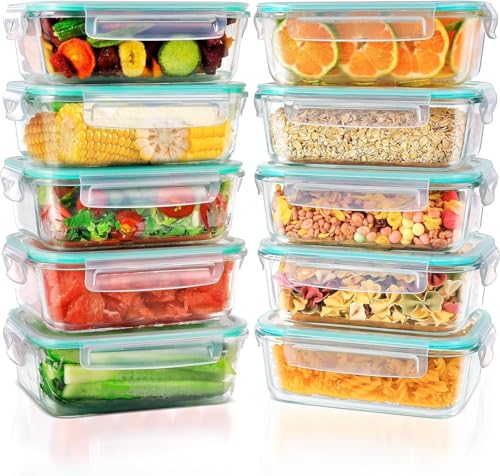
Meal Prep Containers — Glass vs Plastic
If you meal prep (and you should — it saves time and money), choosing the right containers matters:
Glass Containers
- Pros: Don't stain, don't absorb odours, microwave and oven safe, dishwasher safe, last 5-10 years, look clean in the fridge
- Cons: Heavier, more expensive ($8-$15 each), can break if dropped
- Best for: Long-term use, microwave reheating, anyone tired of stained plastic containers
Browse glass meal prep containers →
Plastic Containers
- Pros: Lightweight, cheap ($3-$5 each), won't break if dropped, available everywhere
- Cons: Stain from tomato sauce and curry, absorb odours over time, warp in dishwasher, need replacing every 1-2 years, may contain BPA (check labels)
- Best for: Budget buyers, lunches you take to work (lighter to carry, less worry about breaking)
Browse plastic meal prep containers →
Our pick: Glass for home use (fridge-to-microwave-to-dishwasher), plastic for work lunches. A set of 5-6 glass containers ($30-$50) and a set of cheap plastic containers ($10-$15) covers all your needs.
Labels and Dating
Labelling leftovers with the date you cooked them is the simplest way to reduce food waste. Without a date, you'll stare at a container and wonder "did I make this on Tuesday or last Tuesday?" and throw it away to be safe. With a date, you know exactly how old it is.
Options:
- Masking tape + marker: The cheapest method ($3 total). Tear off a strip, write the date, stick it on the container. Peels off cleanly.
- Dissolvable labels: Labels that dissolve in the dishwasher, so you don't need to peel them off. $8-$12 for a roll. Browse dissolvable labels →
- Reusable silicone labels: Write with a dry-erase marker, wipe clean, reuse. $10-$15 for a set. Browse reusable labels →
Weekly Fridge Maintenance
A 5-minute weekly routine keeps your fridge organised and reduces waste:
- Before your weekly shop: Check every shelf and drawer. Move anything close to expiry into the "eat first" zone. Make a mental note (or take a phone photo) of what you already have so you don't buy duplicates.
- After your weekly shop: Put new items behind existing ones (first in, first out). This simple habit ensures older items get used before they expire.
- Sunday evening: Do a quick scan for anything that needs eating or tossing. Wipe up any spills with a damp cloth. This takes 2-3 minutes and keeps your fridge clean without ever needing a deep clean.
Deep Clean — Monthly
Once a month, remove everything from the fridge, check expiry dates, toss anything past its best, wipe all shelves and drawers with warm soapy water (or a mix of bicarb soda and water for stubborn smells), and put everything back in its zone. This takes 15-20 minutes and keeps your fridge hygienic, odour-free, and genuinely pleasant to open.
Browse fridge deodorisers →
Fridge Temperature Settings
Most people never adjust their fridge temperature from the factory default — but the correct temperature makes a measurable difference to food safety and shelf life:
- Fridge: Set to 3-4°C. Below 3°C risks freezing items at the back. Above 5°C allows bacteria to grow faster. Use a fridge thermometer ($5-$10) to check — the built-in dial is often inaccurate. Browse fridge thermometers →
- Freezer: Set to -18°C. This is the standard food safety temperature that prevents bacterial growth and maintains food quality.
In Australian summers, your fridge works harder. If you notice food not staying as cold as usual, check that the back of the fridge has at least 5cm clearance from the wall for airflow, and clean the condenser coils at the back (or bottom) once a year — dust buildup reduces cooling efficiency by up to 25%.
Freezer Organisation
Don't neglect the freezer — it's where food goes to be forgotten. Apply the same principles:
- Use freezer-safe bags or containers: Label everything with the contents and the date frozen. Frozen meat that's been in there for 8 months is safe but won't taste great.
- Flat-freeze liquids: Soups, stews, and sauces frozen flat in zip-lock bags stack like books, saving enormous amounts of space compared to round containers.
- Keep an inventory: A simple whiteboard or notepad on the fridge listing what's in the freezer prevents the "mystery bag at the bottom" problem. Cross items off as you use them. Browse fridge whiteboards →
- Basket system: If your freezer has drawers, group items: one drawer for meat, one for vegetables, one for ready meals and leftovers. If it's a top-mount freezer (open compartment), stackable bins keep things organised.
Budget Breakdown — Complete Fridge Organisation
- Budget setup: $40-$60 — 4-5 clear bins from Kmart, masking tape for labels, one lazy Susan
- Mid-range setup: $80-$120 — stackable bins, lazy Susan, egg holder, can dispenser, produce savers, dissolvable labels
- Premium setup: $150-$200 — OXO bins, glass meal prep containers, label maker, produce savers, fridge thermometer, matching containers
Even the budget setup ($40-$60) will reduce your food waste noticeably. When you consider that the average Australian household wastes $2,500-$3,800 of food per year, a $50 investment in fridge organisation pays for itself within a month.
Frequently Asked Questions
What is the best way to organise a fridge?
Use a zone system: top shelf for ready-to-eat foods and leftovers, middle shelf for dairy and eggs, bottom shelf for raw meat (coldest zone, prevents drips onto other food), crisper drawers for fruit and vegetables (in separate drawers to prevent ethylene cross-contamination), and door shelves for condiments and drinks. Add clear stackable bins to group items together, a lazy Susan for condiments, and label leftovers with dates. Keep an "eat first" section on the top shelf for items close to expiry. This system takes 20 minutes to set up and saves hours of searching and hundreds of dollars in reduced food waste over a year.
Do fridge organisers actually work?
Yes — measurably. Clear stackable bins group items so you can see everything at a glance, pull out a whole category (all the cheeses, all the snacks) like a drawer, and keep the fridge tidy between shops. A lazy Susan for condiments eliminates the "lost sauce at the back" problem. Produce savers extend the life of berries and greens by 2-4 days. The total cost of a basic fridge organisation setup is $40-$80, and it reduces food waste significantly — the average Australian household wastes $2,500-$3,800 of food per year, and an organised fridge is the single biggest factor in reducing that.
How often should I clean my fridge?
A quick wipe (2-3 minutes) weekly is enough to keep your fridge clean. Wipe up any spills, check for expired items, and move close-to-expiry food to the front. Do a deeper clean monthly: remove everything, wipe all shelves and drawers with warm soapy water or bicarb soda solution, and reorganise. If your fridge develops an odour, an open box of bicarb soda on a shelf absorbs smells naturally. Most importantly, don't let spills sit — wiping them immediately prevents sticky buildup and bacterial growth.
Found this helpful?
Check out more guides for new homeowners.